Central AC installation becomes a priority when cooling problems keep returning. Many homeowners face the same triggers. Breakdowns during peak heat. Higher summer energy bills from an aging unit. Rooms that stay warm even when the thermostat is set low.
For systems that are 10–15 years old, repairs often become repetitive and unpredictable. At that point, deciding whether to install a new system becomes part of managing comfort and monthly costs.
If you are preparing for a new central AC, it helps to understand what affects performance, efficiency, and long-term reliability. Clear decisions early in the process can reduce future breakdowns and create more stable comfort.
This guide covers the key points to review before installation so you can plan with confidence and avoid common issues that lead to uneven cooling or unnecessary expenses.
At a Glance
System Sizing Matters Most: Correct AC sizing prevents uneven cooling, high bills, and premature wear. Always rely on a professional load calculation.
Home Readiness Affects Performance: Duct condition, insulation quality, electrical capacity, and airflow access all influence installation time and long-term comfort.
Efficiency Drives Operating Costs: Higher-efficiency systems can help reduce monthly cooling costs and support more stable temperatures during peak heat.
Installation Quality Impacts Reliability: Proper placement of indoor and outdoor units, secure refrigerant connections, and verified airflow help reduce the risk of future breakdowns.
Preventive Maintenance Protects the Investment: Routine checks and seasonal tune-ups help maintain performance, reduce repair frequency, and extend system life.
What Determines the Right Central AC System for Your Home
Selecting the right system depends on how your home gains and holds heat, how air moves through each room, and how you plan to use the AC throughout the year.
Home Size and Layout
Your home's square footage and layout influence cooling demand. Larger homes, multi-story designs, and open floor plans require higher capacity and more airflow planning. Sun-exposed rooms and high ceilings also increase load.
Insulation Quality
Insulation affects how long your home stays cool. Poor attic or wall insulation forces the AC to run longer. Sound insulation supports stable temperatures, shorter cycles, and better efficiency.
Sun Exposure and Window Placement
Window direction and size change how quickly heat enters the home.
Rooms with intense afternoon sun, large glass areas, or limited shading often need more airflow support during installation planning.
System Type Options
Different system types fit different home setups.
Split systems: Most common and service-friendly.
Packaged units: Useful when indoor space is limited.
Heat pumps: Provide both cooling and heating in one system.
Efficiency Rating
Efficiency affects monthly cooling costs and comfort levels. Higher-efficiency units can support steadier temperature control, reduce strain during long run cycles, and help manage electricity use during hot periods.
Noise and Placement Considerations
Placement influences both comfort and long-term service access. Outdoor units work best in areas away from bedrooms. Indoor units need sufficient room for airflow and maintenance.
Long-Term Use and Maintenance Needs
Your cooling habits impact the type of system that makes sense. Homes that run the AC for long hours benefit from systems designed for extended operation and better humidity control. Maintenance requirements vary by equipment type and should be reviewed before choosing a system.
Professional installers like Central Air & Refrigeration serving the Bryan–College Station area, evaluate your home’s insulation, sun exposure, and layout to recommend the right system for Texas heat conditions, not guesswork.
Once you understand the system options, the next step is to confirm that the system is sized correctly.
Correct AC Sizing: Why Manual Calculations Matter
Correct sizing determines how well the system cools your home, how long it lasts, and how much energy it uses. A system that is too small or too large creates comfort issues and unnecessary wear.
Why Undersized Systems Struggle
An undersized system runs for long periods and still may not reach the set temperature. This increases energy use and puts continuous stress on components. Comfort becomes inconsistent, especially during peak heat or in sun-heavy rooms.
Why Oversized Systems Cause Problems
An oversized system cools the air too quickly and shuts off before completing a full cycle. This short cycling creates uneven temperatures and higher energy use. It also increases mechanical wear because the system stops and starts more often.
How Professionals Determine the Right Size
A proper load calculation reviews home size, insulation, layout, and sun exposure. This prevents guesswork and ensures the unit fits the home's actual cooling needs. The result is steadier comfort and longer equipment life.
Not sure what size AC your home really needs? Central Air & Refrigeration performs Manual J load calculations for homeowners in Bryan–College Station to ensure the system is neither oversized nor undersized. Request a sizing evaluation to avoid future cooling issues.
Correct sizing only works when the home is prepared to support the new system.
Home Readiness Checklist Before AC Installation
Before installing a new central AC, it is essential to confirm that the home can support the system. This helps avoid delays, unexpected costs, and airflow issues that reduce cooling performance.
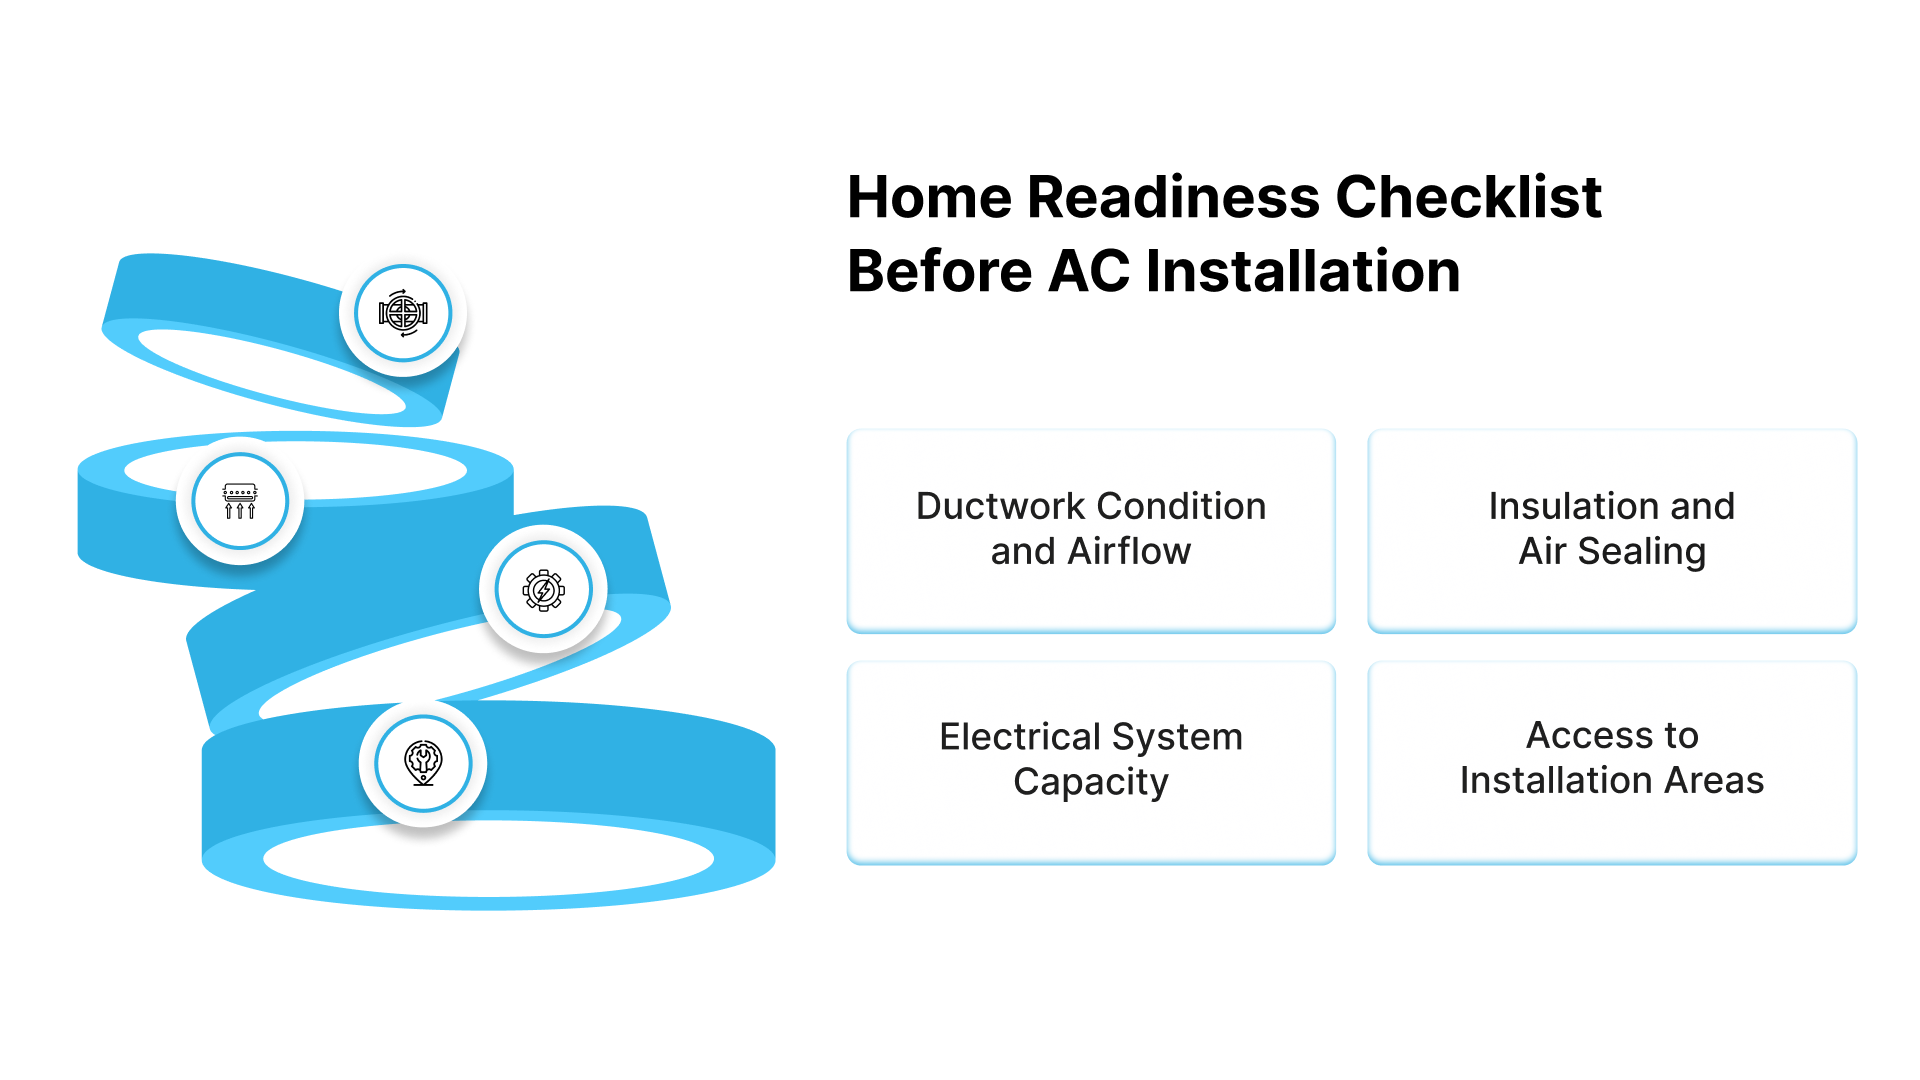
Ductwork Condition and Airflow
Ducts should be intact, sealed, and sized correctly. Leaks or blockages reduce airflow, forcing the new system to work harder. Older ducts may need repair or modification to support consistent cooling across all rooms.
Insulation and Air Sealing
Insulation levels affect how quickly heat enters the home. Poor insulation forces the AC to run longer. Checking attic insulation and sealing gaps around windows and doors can improve temperature stability and reduce strain on the new system.
Electrical System Capacity
Newer AC units may require adequate breaker capacity and proper wiring. An outdated panel or insufficient amperage can slow the installation process. Confirming electrical readiness helps prevent interruptions during setup.
Access to Installation Areas
Technicians need clear access to the attic, closet, or utility area where indoor components will be placed. The outdoor space should also have enough room for proper airflow and maintenance access.
With the home prepared, the next consideration is the placement of the indoor and outdoor units.
Where to Place the Indoor and Outdoor Units
Placement affects daily comfort, system performance, and future service access. Choosing the right locations helps the system run efficiently and reduces noise and airflow issues.
Outdoor Unit Placement
The outdoor unit needs a level, open space with good airflow. It should be positioned away from bedrooms and high-use outdoor areas to limit noise disruption. Adequate clearance on all sides helps technicians perform routine maintenance and keeps the unit operating smoothly.
Indoor Unit Placement
Indoor components should be placed in a central area that promotes even airflow throughout the home. Common locations include attics, closets, or utility spaces with enough clearance for servicing. Proper placement also helps maintain stable temperatures in rooms that tend to warm up faster.
Refrigerant Line Routing
The distance between indoor and outdoor units affects installation time and long-term reliability. Shorter, direct routing helps reduce points of failure and supports consistent cooling.
Unsure whether your home is ready for a new AC? Central Air & Refrigeration offers pre-installation home readiness checks, including duct inspection and electrical review, so your project stays on schedule. Book a readiness assessment today.
Placement and home readiness both influence installation complexity, which directly affects project cost.
Cost Factors to Consider for Central AC Installation
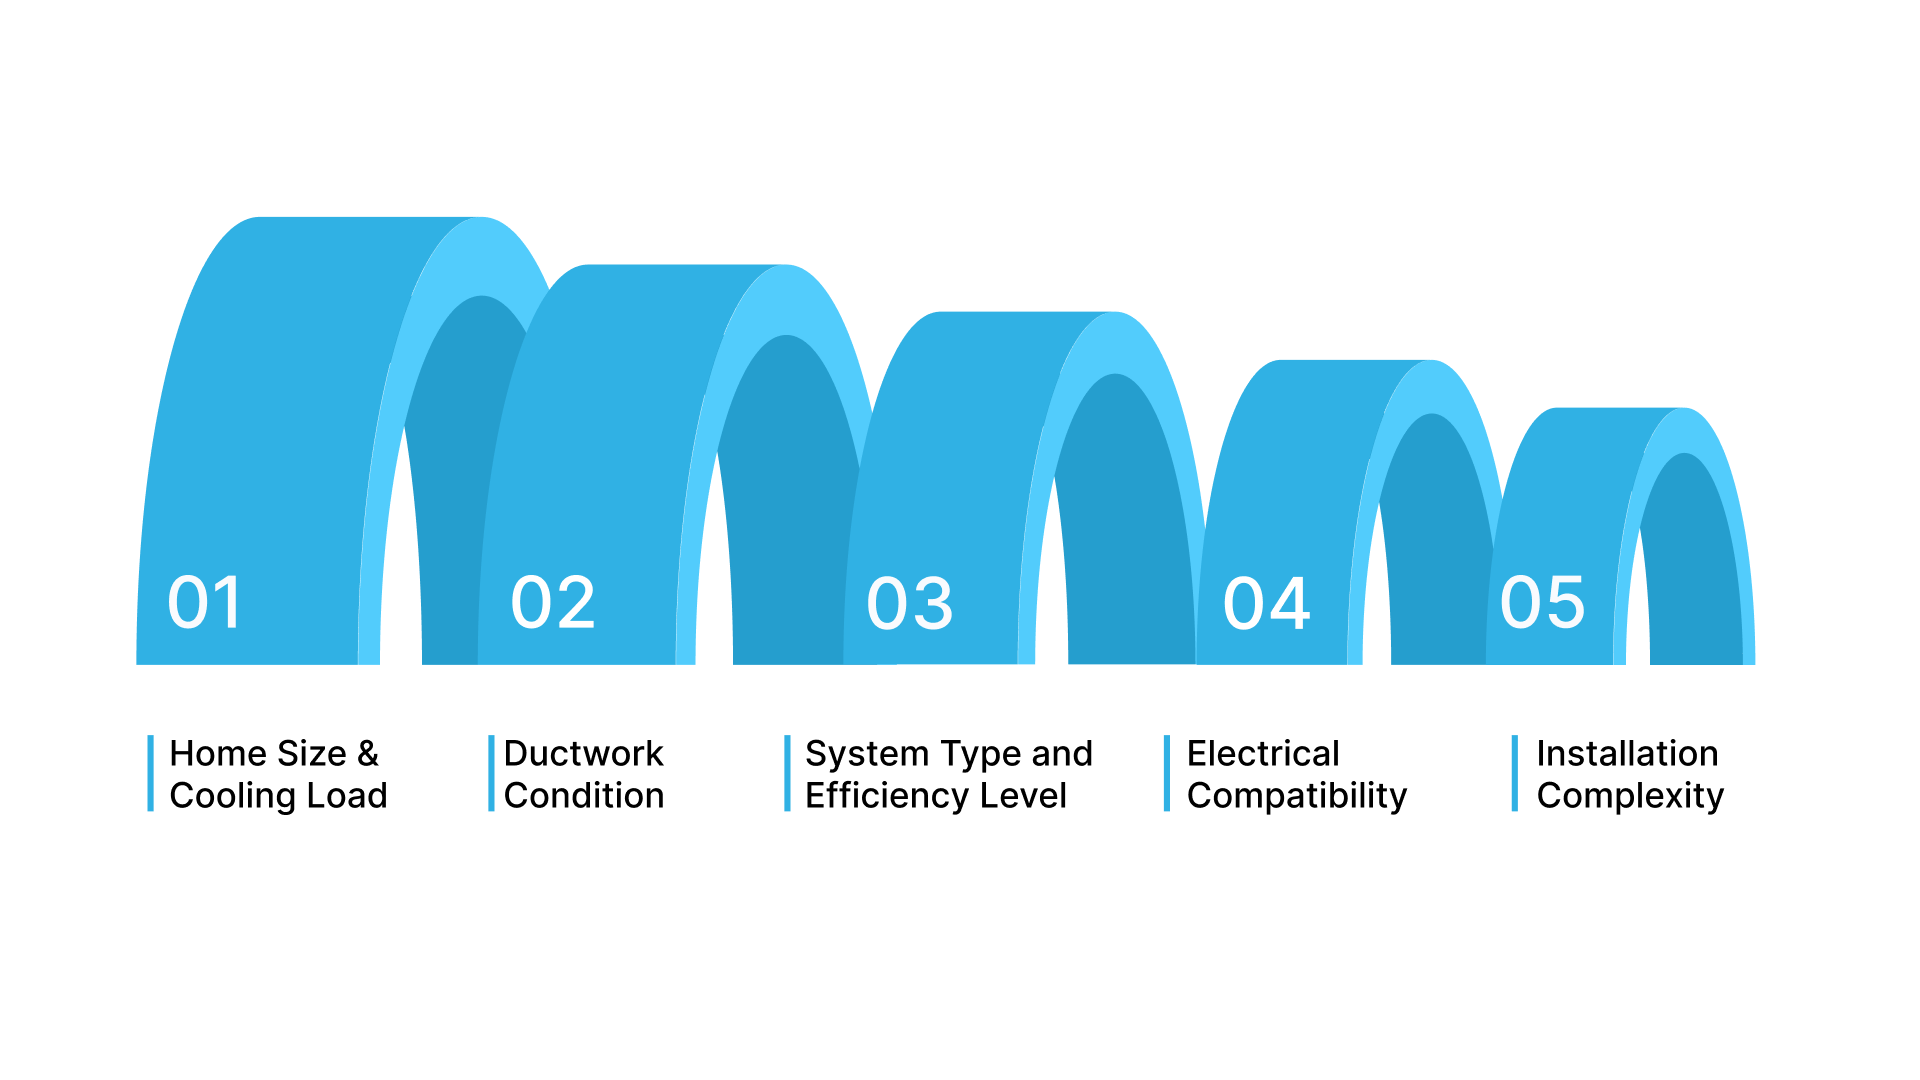
Central AC installation costs vary because each home has different cooling needs and infrastructure conditions. Understanding what drives cost helps homeowners plan more accurately and avoid surprises during the project.
Home Size and Cooling Load
Larger homes or homes with complex layouts require systems with higher capacity. Higher cooling demand often requires more extensive ductwork adjustments and longer installation times. These factors influence overall project cost.
Ductwork Condition
Ducts that leak, restrict airflow, or are undersized may need repair or replacement. Proper duct condition supports system efficiency and prevents uneven cooling. Any duct-related work is included in the installation scope.
System Type and Efficiency Level
Split systems, packaged units, and heat pumps each have different price ranges. Higher-efficiency systems often cost more upfront but can help reduce long-term operating expenses. The choice depends on your comfort goals and energy-use priorities.
Electrical Compatibility
If the electrical panel or wiring cannot support the new system, upgrades may be required. This ensures safe operation and helps prevent interruptions during installation.
Installation Complexity
Homes with limited access to attics or utility spaces, long refrigerant line routes, or specific placement constraints may require additional labor. Complexity directly affects installation time and total cost.
The next step is knowing what actually happens during a professional central AC installation.
What a Professional Central AC Installation Includes
A professional installation follows a structured process to ensure the system is set up safely and performs reliably. Knowing what technicians do at each stage helps homeowners understand the work involved and what to expect on installation day.
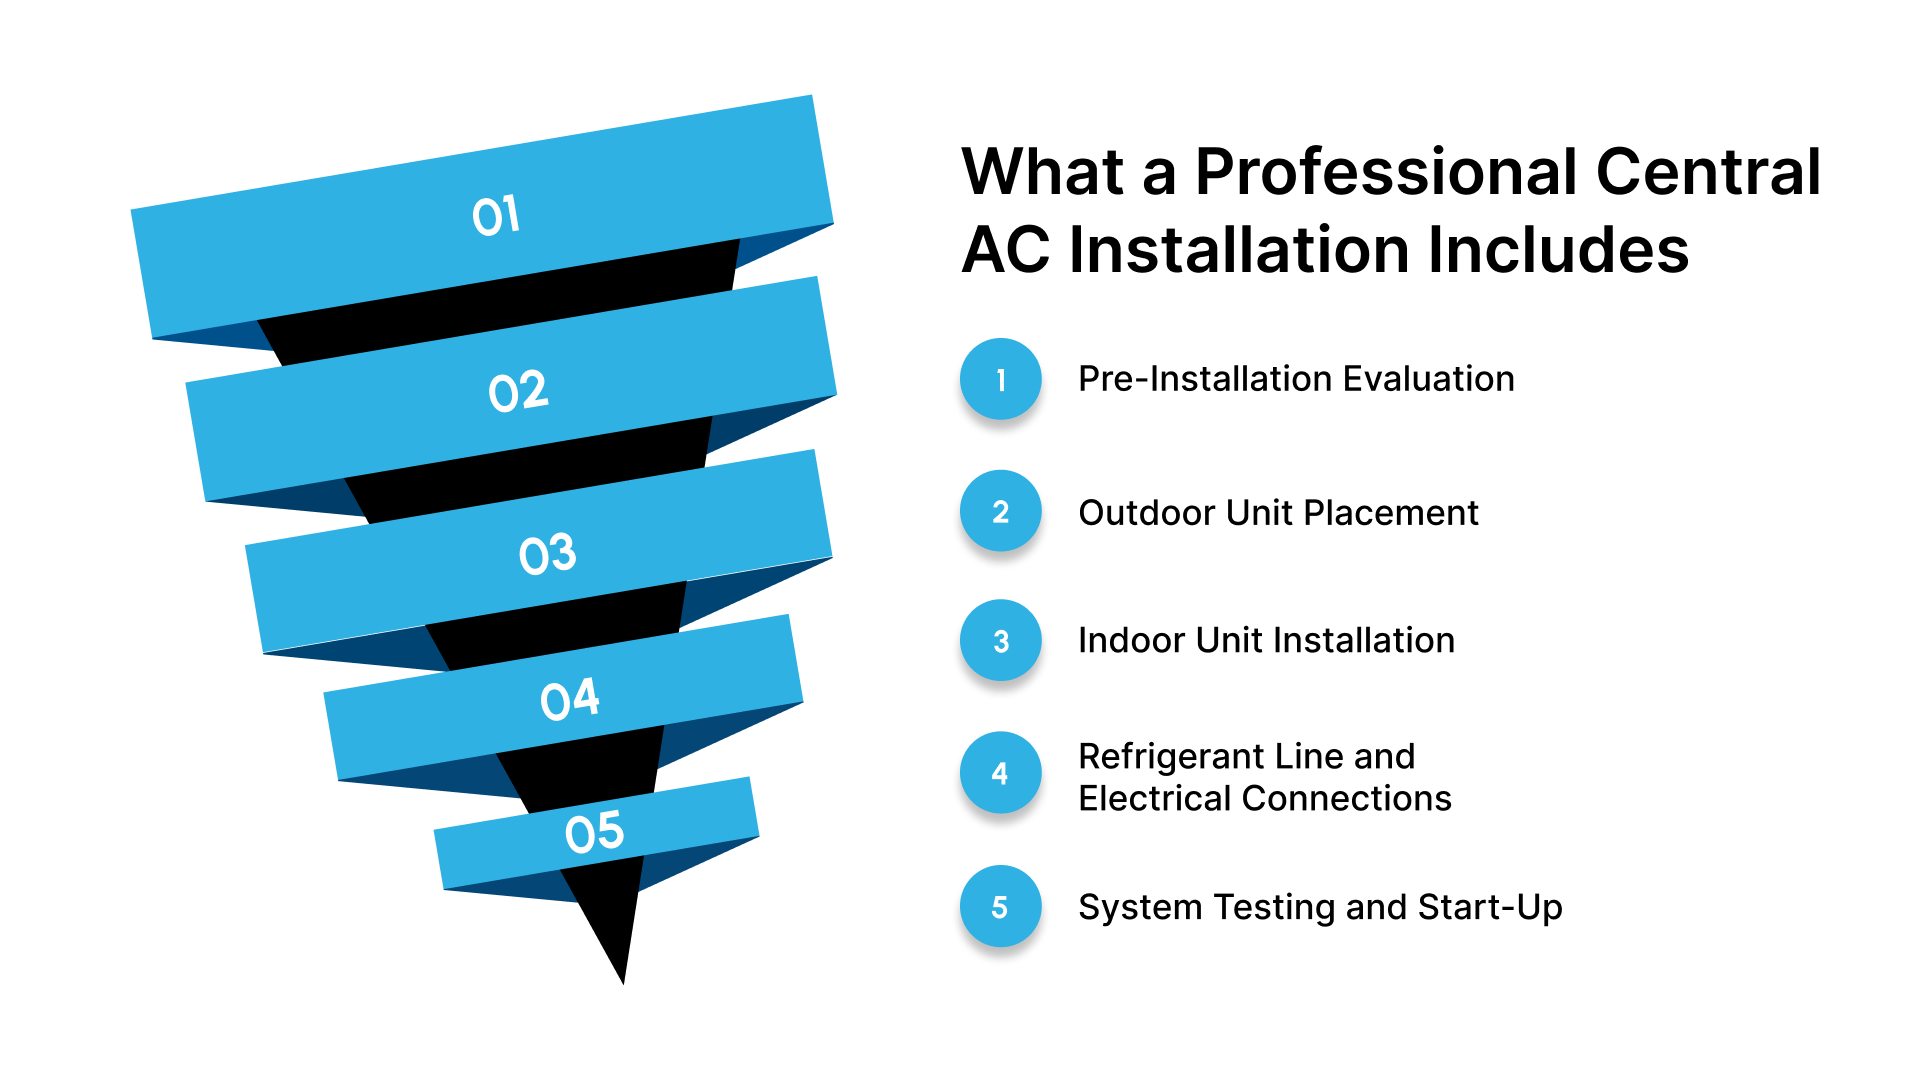
Step 1: Pre-Installation Evaluation
A technician begins by conducting a comprehensive assessment of the home to confirm that the new AC will operate correctly.
During this step, a professional installer will:
Review the home's layout to identify the best placement for indoor and outdoor units
Inspect existing ductwork for leaks, blockages, or sizing issues
Check the electrical panel capacity to confirm system compatibility
Identify any modifications needed before installation begins
This evaluation helps prevent delays and ensures the new system is matched to the home's cooling needs.
Step 2: Outdoor Unit Placement
Once planning is complete, the outdoor condenser unit is positioned.
A professional installer will:
Place the unit on a level surface with proper airflow clearance
Ensure the location supports easy service access
Confirm the placement avoids noise disruption near sleeping areas
Prepare the site for refrigerant and electrical connections
Good placement supports efficient operation and long-term reliability.
Step 3: Indoor Unit Installation
Indoor components are installed in an area suitable for airflow and future maintenance, such as the attic, a closet, or a utility space.
During this step, the technician will:
Position the evaporator coil, blower, and housing
Ensure there is sufficient clearance for service and ventilation
Connect the indoor assembly to the home's duct system
Verify that the airflow path supports even cooling across rooms
Proper indoor placement helps the system maintain stable temperatures.
Step 4: Refrigerant Line and Electrical Connections
With both units in place, the next step is connecting the system.
A professional installer will:
Route and secure refrigerant lines between the indoor and outdoor units
Seal and insulate the lines to protect performance
Make electrical connections according to system requirements
Confirm grounding, breaker sizing, and safety shutoffs
This step ensures safe operation and prepares the system for final testing.
Step 5: System Testing and Start-Up
After installation, the technician completes a full performance check.
This includes:
Verifying refrigerant levels and checking for leaks
Testing airflow and static pressure
Confirming thermostat communication and calibration
Ensuring the system cycles correctly and cools as expected
This final testing step helps ensure the AC is running efficiently from day one.
Let's understand the common mistakes that can affect system performance and should be avoided during installation.
Common Mistakes to Avoid During Central AC Installation
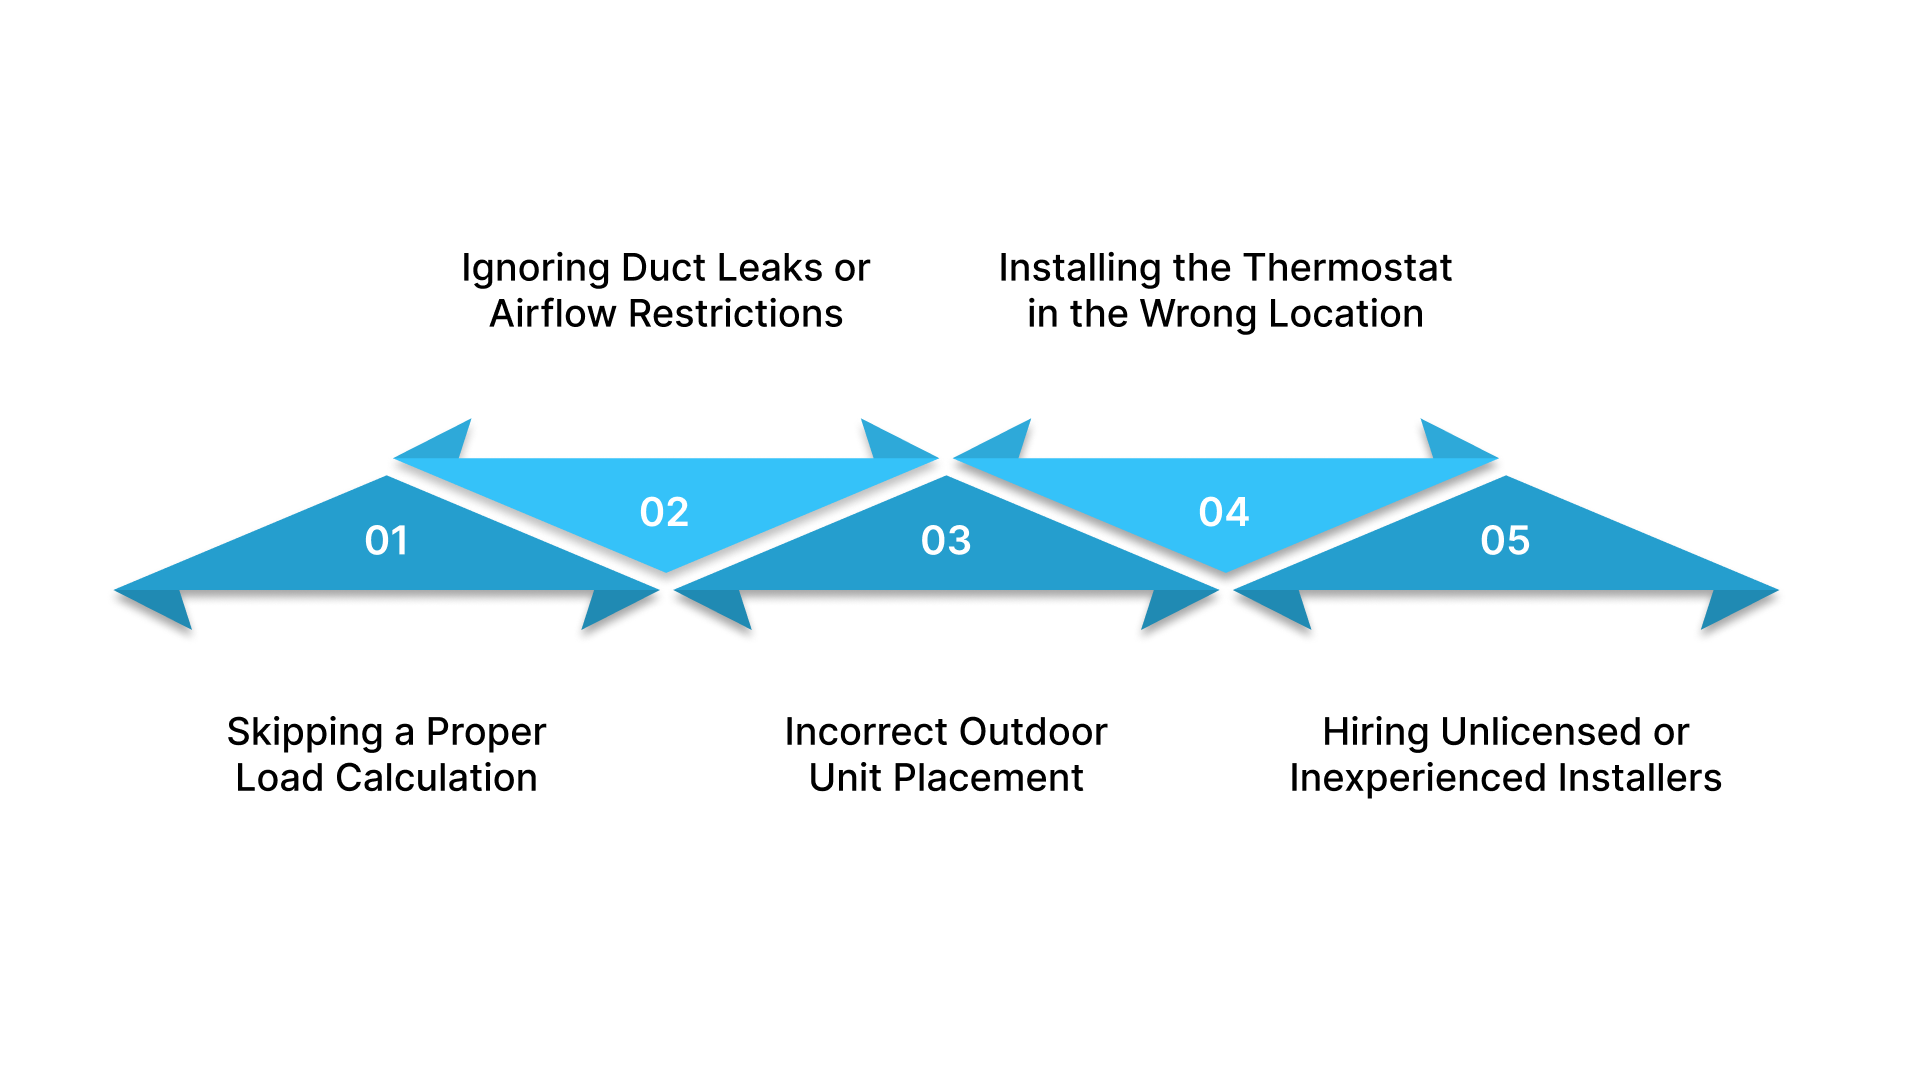
Avoiding common installation mistakes helps protect system performance, prevent recurring comfort issues, and reduce the likelihood of frequent repairs. Many long-term problems start during installation, not during everyday use.
Skipping a Proper Load Calculation
Choosing a system based on guesswork or the size of the old unit leads to improper sizing. An undersized or oversized system struggles to maintain stable temperatures, leading to increased energy use. A load calculation prevents these issues.
Ignoring Duct Leaks or Airflow Restrictions
Installing a new AC onto poorly sealed or undersized ducts reduces efficiency and creates hot and cold spots. Addressing duct issues before installation ensures steady airflow and consistent cooling.
Incorrect Outdoor Unit Placement
Placing the unit too close to walls, fences, or vegetation blocks airflow and reduces performance. Restricted airflow forces the system to work harder, increasing wear over time.
Installing the Thermostat in the Wrong Location
A thermostat placed in direct sunlight or near heat sources produces inaccurate readings. This leads to unnecessary cycling and inconsistent comfort.
Hiring Unlicensed or Inexperienced Installers
Improper refrigerant handling, electrical work, or equipment setup can create safety risks and shorten system life. Licensed and experienced technicians follow industry standards and ensure the system is set up to perform correctly.
How Central Air & Refrigeration Supports Your Central AC Installation
Installing or replacing central AC is a significant home decision. Working with the right team helps reduce stress, avoid unnecessary delays, and ensure the system is set up for long-term reliability. Central Air & Refrigeration serves both homes and businesses throughout Bryan–College Station, with experience in residential cooling, commercial AC, and refrigeration systems.
Experience that fits real home cooling needs
Our team works on central AC systems every day and understands the everyday challenges homes face. We review your layout, duct condition, and cooling patterns so the system is sized and placed correctly from the start.
Clear communication and organized installation
We explain the installation plan, confirm access needs, and provide scheduling you can depend on. This helps minimize disruption and keeps every step of the process predictable.
Support beyond installation day
Our work does not end when the system is turned on. We help with maintenance planning, warranty documentation, seasonal tune-ups, and long-term service needs. This support helps reduce breakdown risks and keeps your system performing efficiently.
Conclusion
Central AC installation becomes far easier when you have the right information and a reliable partner guiding the process. Understanding system types, sizing, duct needs, and placement helps prevent issues that cause uneven cooling, higher energy use, or frequent repairs.
If you are preparing to install or replace a central AC unit, Central Air & Refrigeration can review your home, explain your options, and provide a clear plan based on your comfort goals and daily routine. We help you compare system features, efficiency levels, and long-term maintenance needs so you can make a confident decision.
Avoid waiting until peak heat puts extra strain on an aging or undersized system. Plan your installation now and ensure your home stays comfortable, consistent, and ready for the warmest months ahead. Contact our team to schedule your system evaluation.
Frequently Asked Questions
1. How do I know if I should replace my old AC instead of repairing it?
Frequent breakdowns, rising energy bills, uneven cooling, or a system older than 10–15 years often indicate that replacement is more cost-effective than ongoing repairs. A technician can help compare long-term operating costs to make the decision clearer.
2. Do I need new ductwork when installing central AC?
Not always. If your ducts are in good condition and sized correctly, they may only need sealing or minor adjustments. Ducts with leaks, poor airflow, or age-related damage may require repair or replacement to support the new system.
3. How long does a central AC installation usually take?
Homes with existing ductwork are typically quicker to install. Homes that need duct modifications or first-time duct installation take longer. A technician can estimate the timeline after reviewing the home layout and access points.
4. What size AC does my home need?
Size depends on home square footage, insulation, layout, and sun exposure. A professional load calculation determines the correct capacity. This prevents issues like short cycling, uneven cooling, or excessive energy use.
5. How can I keep my new AC running efficiently?
Replace filters regularly, keep vents clear, and maintain open airflow around the outdoor unit. Seasonal professional tune-ups help detect issues early and support stable performance all year.