You know the moment it’s midsummer, the temperature is climbing, and you switch on your central AC. However, instead of that familiar cool rush, you get warm air, weird noises, or nothing at all. It’s frustrating and uncomfortable.
What’s worse? A failing compressor often starts with minor, easy-to-ignore signs, weak airflow, unusual sounds, or frequent breaker trips, before it completely breaks down. According to recent HVAC-industry data, many compressors don’t make it to their expected 10–15-year lifespan when maintenance is skipped.
If you’re scratching your head, wondering whether it’s worth calling a technician or whether you can sort it out yourself, you’re not alone. This guide walks you through how a compressor works, what warning signs to watch for, what you can safely check at home, and when you should call the pros.
By the end, you’ll know if your AC issue needs a quick tune-up or a serious fix and what’s the smartest next step.
Key Takeaways:
Early Signs Matter: Warm air, lagging cooling, strange noises, or breaker trips are strong early indicators that your compressor is under strain and needs attention.
Quick Checks Help Diagnose Faster: Simple observations, like recording a startup video, checking vent temperature differences, and noting patterns, give valuable clues before a technician arrives.
Safe DIY Fixes Can Solve Minor Issues:Replacing a clogged filter, clearing outdoor unit debris, rinsing coils, or resetting the thermostat often resolves small problems and improves cooling instantly.
Repair vs. Replace Follows Key Benchmarks: Systems over 12 years old, units with repeated issues, or repairs costing 40–50% of replacement typically lean toward replacement, while newer systems are good repair candidates.
Central Air & Refrigeration Makes the Process Simple: With certified technicians, over 10 years of experience, fast response times, and transparent pricing, they help homeowners make confident, cost-effective decisions.
How the Central Air Compressor Works
To understand why your AC struggles when the compressor acts up, it helps to know what this component actually does. Put simply, the compressor is the heart of your cooling system; it pressurizes and circulates refrigerant so your home can shed heat efficiently. When this part slows down, overheats, or can’t start, the entire system feels the impact.
Here’s a quick, professional breakdown of how it all comes together, followed by the key parts involved:
In simple terms:
Warm indoor air is pulled across the evaporator coil, the refrigerant absorbs that heat, the compressor pressurizes the refrigerant into a high-temperature vapor, and the outdoor unit releases that heat outside. Once the refrigerant cools and condenses, it cycles back in, and the process repeats.
Understanding this basic flow makes it much easier to recognize early warning signs and know what might be happening behind the scenes.
Key Components and Their Role:
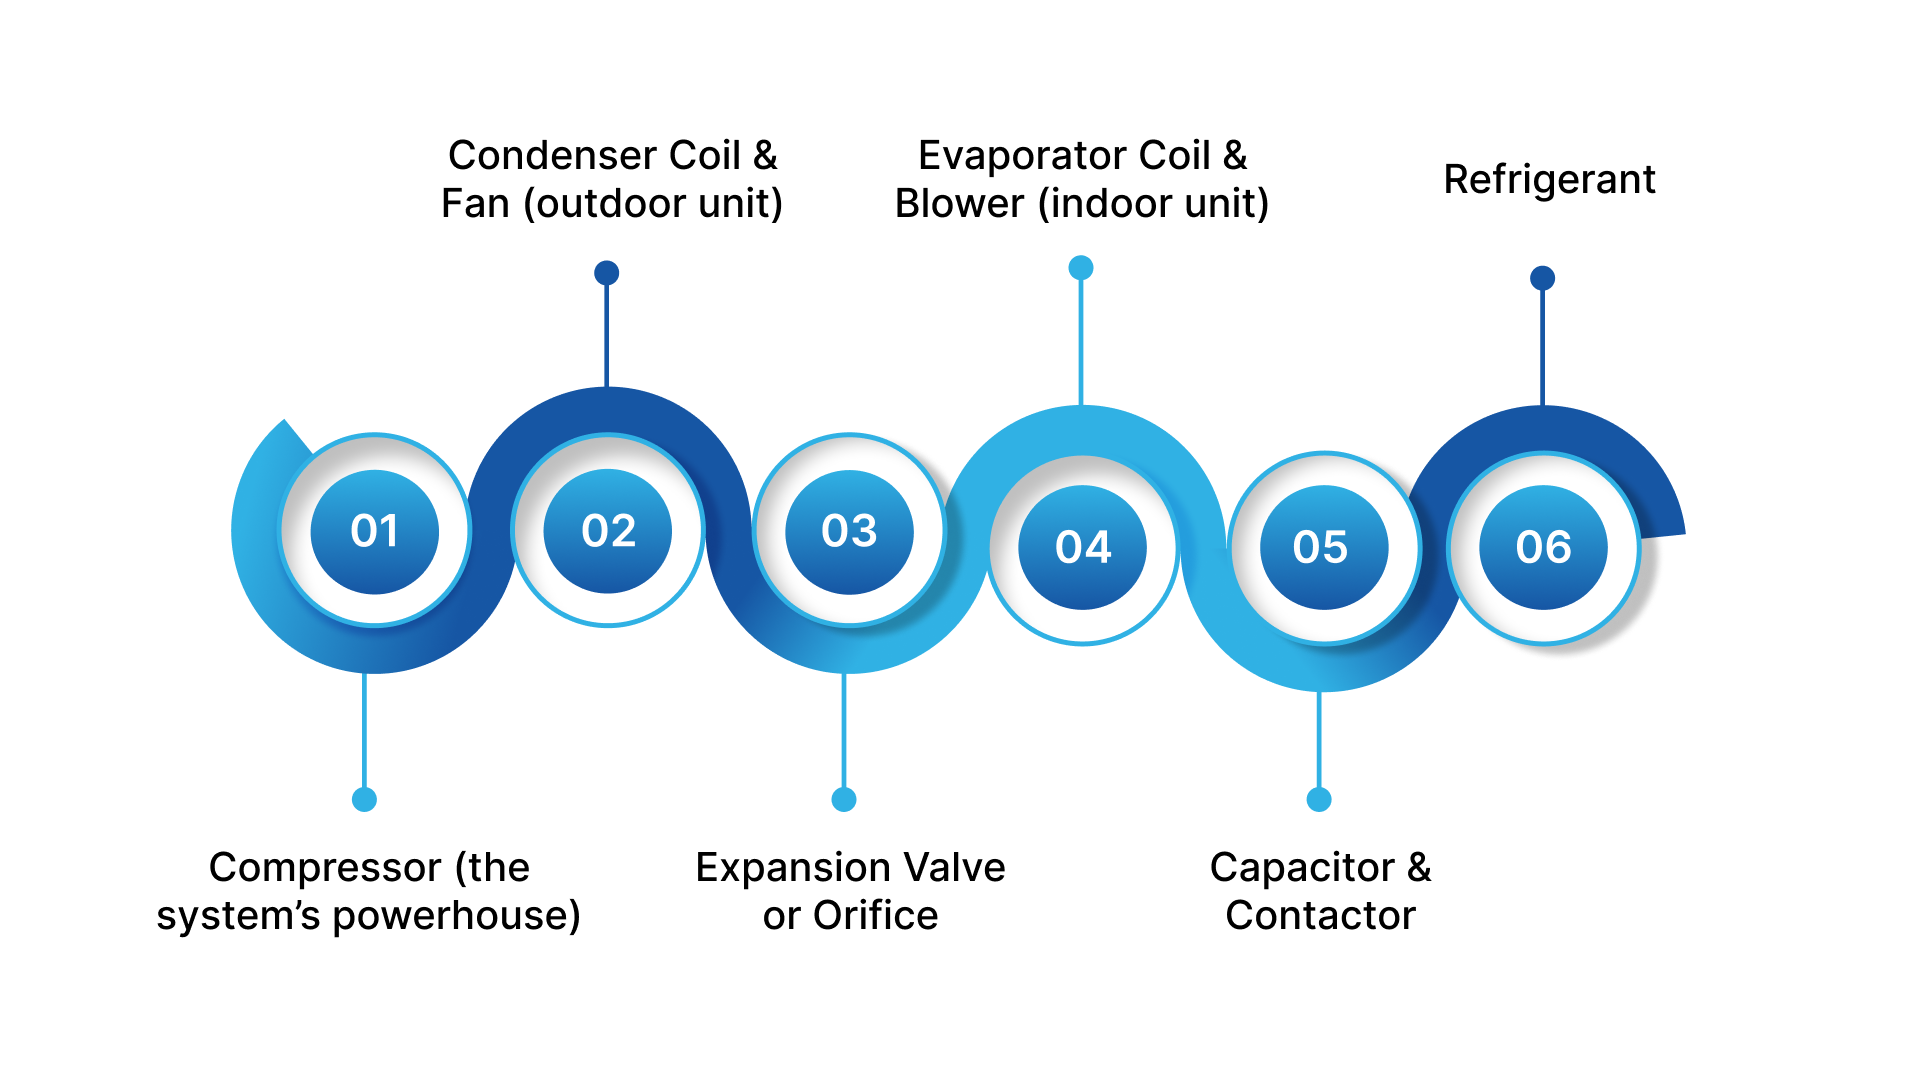
Compressor (the system’s powerhouse): Pressurizes refrigerant so it can release heat outdoors.
Condenser Coil & Fan (outdoor unit): Removes heat from the high-pressure vapor and turns it back into liquid refrigerant.
Expansion Valve or Orifice: Reduces refrigerant pressure so it can evaporate and absorb heat indoors.
Evaporator Coil & Blower (indoor unit): Pulls warm air from your home, cools it over the coil, and sends cooled air back through your vents.
Capacitor & Contactor: Help the compressor start, run smoothly, and receive the right amount of power.
Refrigerant: The heat-carrying fluid that constantly cycles between liquid and gas.
With that basic picture of how the compressor keeps everything running smoothly, it becomes easier to understand why certain changes in your AC’s behaviour stand out.
Common Signs Your Compressor Is Failing
When a central-air compressor begins to fail, the change is usually gradual: small shifts in sound, airflow, or performance show up first, then become more frequent or severe if left unchecked.
Early detection matters; many common symptoms (warm air, unusual noises, repeated breaker trips) point to compressor stress or related electrical issues. These are reliable reasons to inspect the system before a full breakdown occurs.
Here’s a simple table to help you connect the signs you’re seeing with what they may mean.
What You Notice | What It May Indicate | Why It Matters |
|---|---|---|
Warm air from vents | Weak compression or low refrigerant movement | AC can’t cool properly |
AC takes longer to cool | Compressor is struggling to maintain pressure | Higher bills + reduced comfort |
Humming or buzzing sounds | Bad capacitor or compressor trying to start | Early sign of potential failure |
Rattling or grinding noises | Internal wear or loose components | Can worsen quickly if ignored |
Breaker keeps tripping | Compressor drawing too much power | Safety issue — needs attention |
Weak or uneven airflow | Poor refrigerant flow affecting indoor coil | Home cools unevenly |
Outdoor unit very hot/shaking | Compressor overheating or imbalance | Overheating can cause permanent damage |
Oil or frost around lines | Possible refrigerant leak | Low refrigerant can burn out compressor |
Understanding the signs makes troubleshooting much less overwhelming. A quick walk-through of the basics can tell you a lot about what’s really going on.
Quick Diagnostic Checklist to Troubleshoot Issues
Before you call a technician, a few thoughtful observations and simple measurements will save time and get a technician straight to the likely problem. This checklist focuses on what to record and how to measure it safely (no panel opening or electrical work), so your call for service is fast, focused, and productive.
Two practical things to do now: capture clear photos/videos of the unit and note the pattern (when it happens and under what conditions). Those two details alone speed diagnostics significantly.
Below is a streamlined checklist to guide you.
Step | What to Do | What It Tells You |
|---|---|---|
1. Observe the pattern | Note when the issue appears (time of day, after long cycles, only in high heat). | Helps identify load-related or intermittent problems. |
2. Take a quick video | Capture the sound or behaviour for 15–30 seconds. | Gives the technician a clear starting point. |
3. Check vent temperature | Compare the air coming out of a supply vent with the room temperature. | Shows if cooling performance is dropping. |
4. Watch the outdoor unit start up | Notice hesitation, uneven sounds, or repeated attempts to start. | Indicates difficulty building initial pressure. |
5. Listen for patterns | Soft clicks, intermittent hums, or brief buzzes during operation. | Helps pinpoint early electrical irregularities. |
6. Look at the outdoor unit | Notice unusual heat, slight shaking, or visible strain after a short run. | Signals the system may be working harder than normal. |
7. Feel the refrigerant line | Lightly touch the insulated line; it should feel cool when running. | Uneven temperature hints at flow or pressure issues. |
8. Note recent history | Recall the last service, filter change, or any previous issues. | Gives context that helps narrow down the cause. |
Once you’ve worked through those basic checks, a few simple at-home steps can help rule out the most common, low-risk issues before calling a technician
Safe DIY Fixes You Can Try at Home
A few cautious, non-technical actions often restore normal performance or rule out the usual suspects, and they take just minutes. These steps are strictly visual/cleaning or simple swaps (no panel opening, no refrigerant, no electrical work). If anything looks out of the ordinary while you do them, stop and call a pro.
Try these practical checks in the order below; each one is low risk and commonly recommended by HVAC pros.
Replace or clean the air filter: Dirty filters restrict airflow, making the whole system work harder; a fresh filter often improves cooling immediately.
Clear debris around the outdoor unit: Remove leaves, grass, and dust from the condenser area so airflow isn’t blocked. Even small obstructions reduce efficiency.
Rinse the condenser coils (low pressure) and straighten fins if needed: A gentle garden-hose rinse and a fin comb for bent fins help restore heat transfer; avoid high-pressure washers that can damage fins.
Ensure proper clearance and airflow: Keep at least 2–3 feet of space around the condenser and trim plants back so warm air can dissipate properly.
Check thermostat settings and batteries; reset if necessary: Confirm the unit is set to “Cool,” the setpoint is correct, and batteries aren’t low; simple fixes that prevent unnecessary service calls.
Observe the outdoor fan and listen during startup: If the fan hesitates or the unit makes unusual sounds on start, note it for the technician. These sounds often indicate start-component strain. Don’t attempt electrical fixes yourself.
Lubricate motors only if the motor has oil ports (check manual): Many modern motors are sealed and must not be oiled; if your owner’s manual shows oil ports, use the specified lubricant and only a few drops.
Tighten visible screws and panels (power off if you must touch the unit): Loose panels or brackets can vibrate and cause noise. A quick visual/tactile check can sometimes remove rattles. Ensure power is off before tightening.
Document what you find: Take a short video of any odd sounds and photos of the unit label (model/serial). This speeds up diagnostics when you call a technician.
Important safety note: Never attempt refrigerant work, internal compressor repairs, or electrical component replacements (capacitors, contactors) yourself. Those require certified technicians.
At this point, if the AC continues to struggle or the symptoms haven’t changed, the issue is likely deeper than what a quick at-home fix can address.
When to Call a Professional HVAC Technician
If your AC begins acting up beyond basic issues, strange noises, overheating, erratic performance, or suspected refrigerant leaks, it’s time to trust the experts. At Central Air & Refrigeration, licensed technicians bring certified training, specialized tools, and deep system knowledge to diagnose and fix problems correctly, safely, and efficiently.
Here’s why Central Air & Refrigeration is the right choice when your system shows signs of deeper trouble.
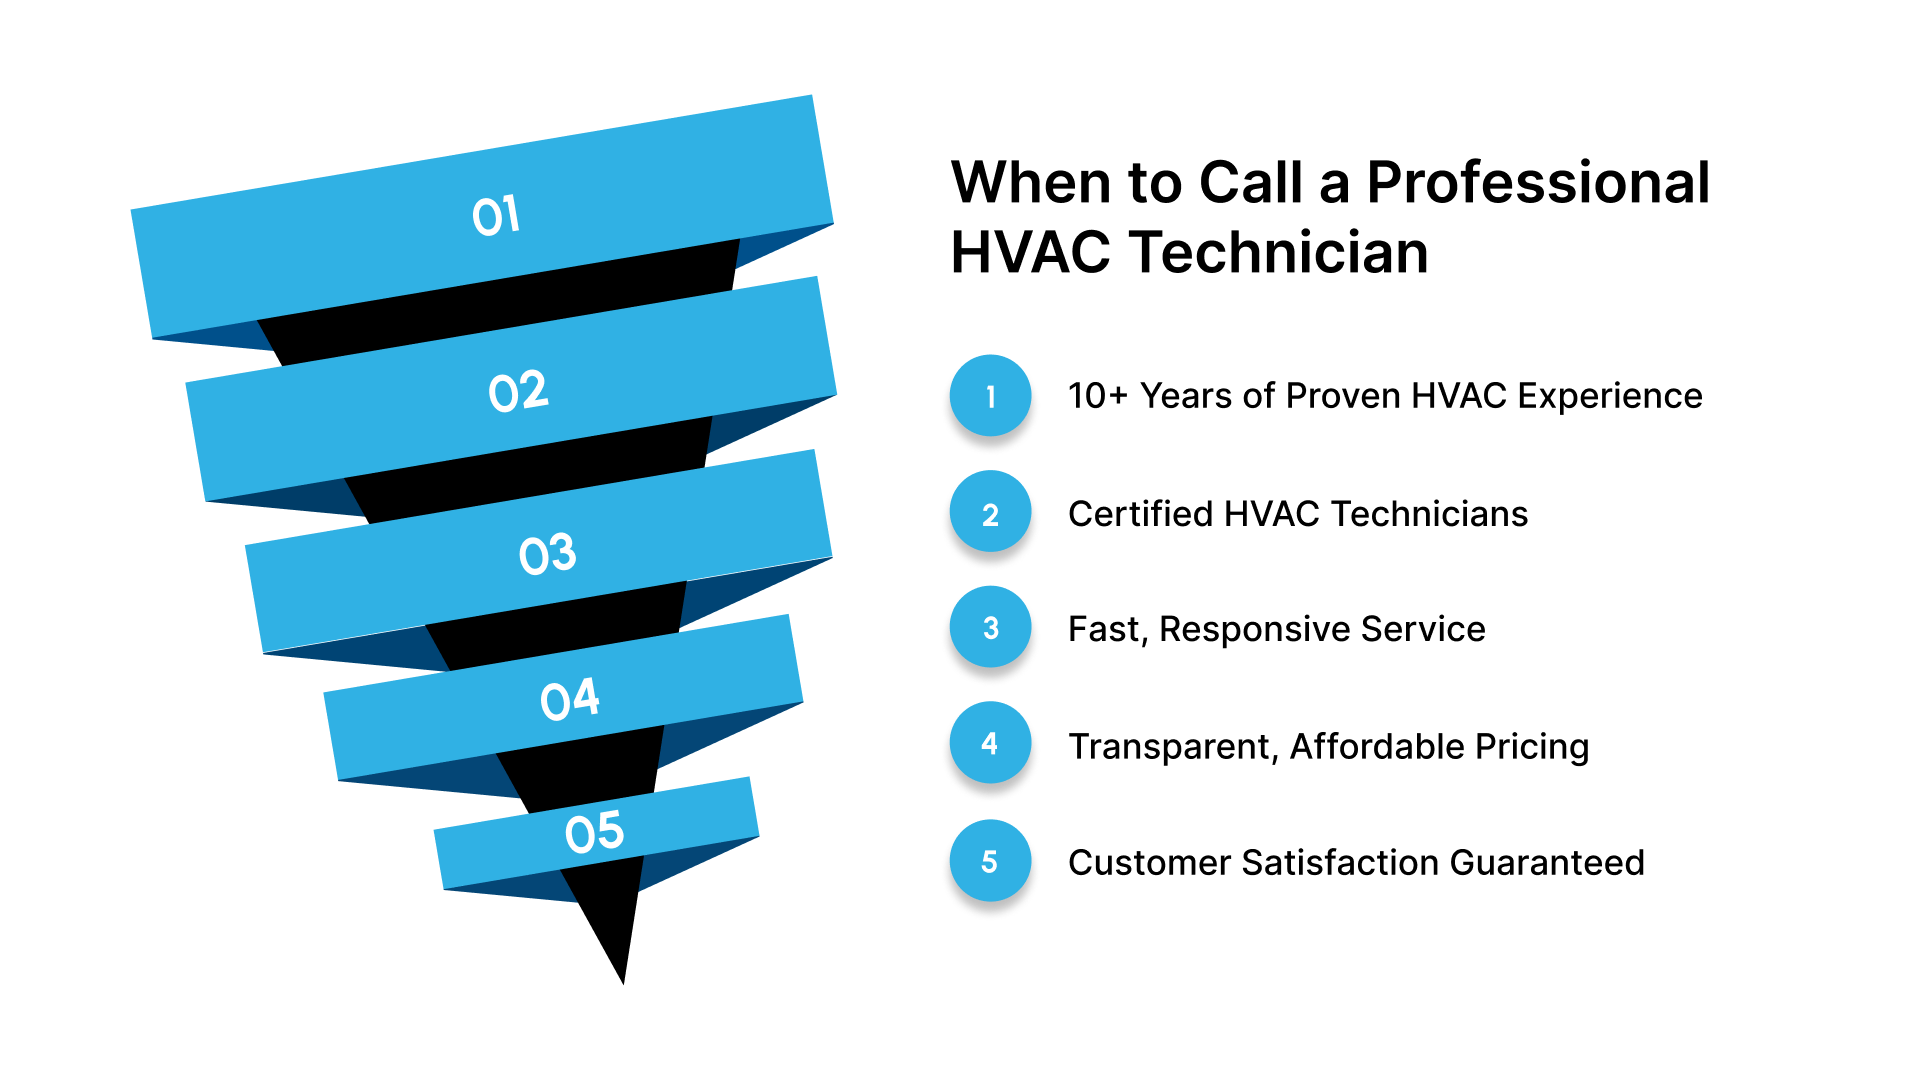
10+ Years of Proven HVAC Experience
Compressor failures can stem from electrical faults, pressure issues, or internal mechanical wear. With over a decade in the industry, Central Air & Refrigeration has handled every type of cooling failure—so diagnosing yours accurately is never guesswork.Certified HVAC Technicians
Their technicians are fully licensed and trained in modern AC systems, including complex compressor diagnostics. This ensures issues are identified the first time correctly and repaired safely.Fast, Responsive Service
When the compressor is struggling, every minute counts. Their team prioritises quick response and timely arrivals, reducing the risk of further damage to your system.Transparent, Affordable Pricing
Compressor-related repairs can be stressful, but the pricing doesn’t have to be. You get upfront quotes, clear explanations, and no hidden surprises—making professional repair far more accessible.Customer Satisfaction Guaranteed
They stand behind every repair. From the initial inspection to the final test run, the focus is on restoring your comfort and ensuring your system runs reliably long after the visit.
With the right team in place, the next question is whether your compressor truly needs a repair or if a replacement will serve you better in the long run.
Repair vs. Replace: Making the Right Decision
When compressor problems show up, the next step is deciding whether fixing the issue is practical or if replacing the compressor (or even the outdoor unit) will give you better long-term reliability. The decision mainly comes down to age, cost, efficiency, and how often the system has given you trouble.
Here’s a simplified comparison to help you understand which direction generally makes the most sense.
Factor | Repair Makes Sense When | Replacement Is Better When |
|---|---|---|
System Age | Under 8–10 years old | 12+ years or older |
Cost | Repair is affordable | Repair approaches 40–50% of replacement |
Problem History | Rare breakdowns | Frequent issues or recurring symptoms |
Efficiency | Cooling performance is still strong | Rising bills or poor cooling even after fixes |
Refrigerant | Uses current refrigerant | Uses older, costly, or phased-out refrigerant |
Conclusion
A compressor issue doesn’t always mean the worst, but it does mean your system is asking for attention. The smartest move at this point is to avoid pushing the unit any further and to get a clear diagnosis before the problem becomes more expensive.
A well-timed inspection not only protects your equipment but also preserves your home’s comfort when you need it most.
This is where Central Air & Refrigeration makes a real difference. Our experience, transparency, and commitment to getting it right the first time ensure you’re not left guessing or paying for unnecessary work.
Whether your system needs a small adjustment or a more involved repair, their team has the expertise to guide you toward the most reliable and cost-effective solution.
If your AC hasn't been cooling the way it should, now’s the ideal moment to take action. Connect with us today, and let Central Air & Refrigeration help you get your system back to running smoothly and efficiently.
FAQs
1. How do I know if my AC compressor is actually failing?
Common clues include warm air from the vents, unusual humming or buzzing, longer cooling times, frequent breaker trips, or the outdoor unit getting unusually hot. A technician can confirm the exact cause with proper testing.
2. Can I run my AC if the compressor is making noise?
It’s best not to. Running the system while the compressor is struggling can cause more damage and increase repair costs. Turn it off and schedule a professional inspection.
3. Is a compressor repair always expensive?
Not necessarily. Some issues, such as capacitors, minor electrical components, or airflow restrictions, are relatively affordable to fix. Costs rise when the compressor itself is damaged or leaking internally.
4. How long does a compressor typically last?
Most compressors last around 10–15 years with proper maintenance, though heavy use, poor airflow, and skipped tune-ups can shorten that lifespan.
5. Should I repair or replace the compressor?
If the system is newer and the issue is minor, a repair is often the best choice. Older units (12+ years), recurring issues, or repairs approaching half the cost of a replacement usually point toward replacing the compressor or the outdoor unit.