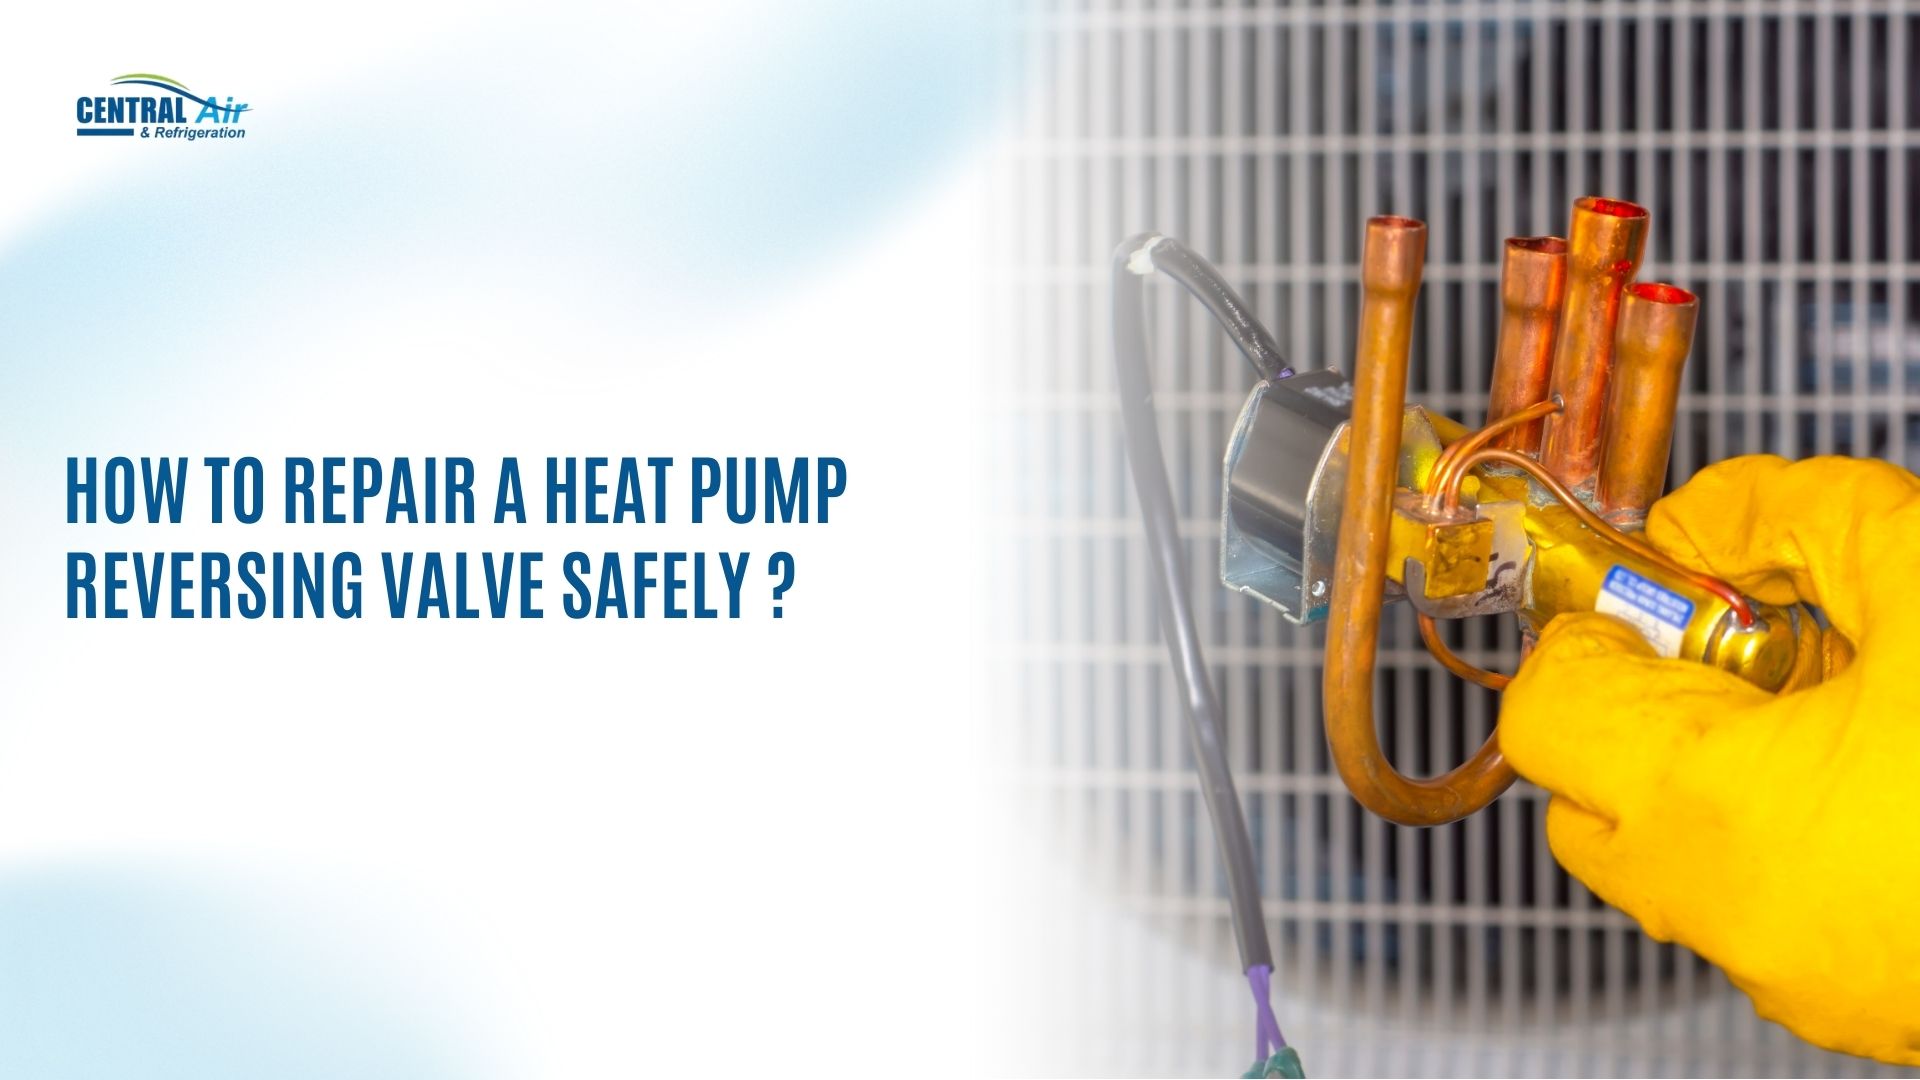
A heat pump that suddenly stops heating or cooling isn’t just an inconvenience; it usually points to a problem with the reversing valve. This small but essential part controls whether your system delivers warm or cool air, and when it fails, your home’s comfort takes a hit.
Many homeowners first notice issues like lukewarm air, frequent system switching, or a unit stuck in one mode.
Understanding the early signs and what repair involves can help you act quickly, avoid bigger damage, and keep your heat pump running smoothly year-round.
Key Takeaways
Heat pump reversing valve repair requires handling high-pressure refrigerant and high voltage, making it extremely hazardous and illegal for non-certified individuals to attempt.
The most common symptom of failure is the heat pump being stuck in either heating or cooling, or emitting a continuous hissing noise from the outdoor unit.
Proper replacement of the valve demands precise brazing with a torch and nitrogen purge, a specialized skill required to prevent contamination and damage to the compressor.
A professional repair includes crucial, regulated steps: refrigerant recovery, new valve installation via brazing, system evacuation (deep vacuum), and precise refrigerant recharge.
Understanding the Heat Pump Reversing Valve
Before discussing repair, it’s vital to understand the fundamental job of this component within your HVAC system.
What Does the Reversing Valve Do?
The reversing valve, sometimes called a four-way valve, is the component that makes a heat pump a heat pump. It allows the system to switch between heating and cooling modes.
Cooling Mode: The valve directs the flow of refrigerant so that the indoor coil acts as the evaporator (absorbing heat from inside your home) and the outdoor coil acts as the condenser (releasing heat outside).
Heating Mode: The valve reverses the direction of the refrigerant flow. Now, the outdoor coil acts as the evaporator (absorbing heat from the outside air), and the indoor coil acts as the condenser (releasing that heat inside your home).
This entire process is controlled by a small solenoid within the valve, which responds to electrical signals from your thermostat, initiating the mechanical shift.
The Professional Step-by-Step for Heat Pump Reversing Valve Repair
When a technician arrives to perform the repair, they follow a strict, multi-step process that ensures compliance, safety, and system integrity.
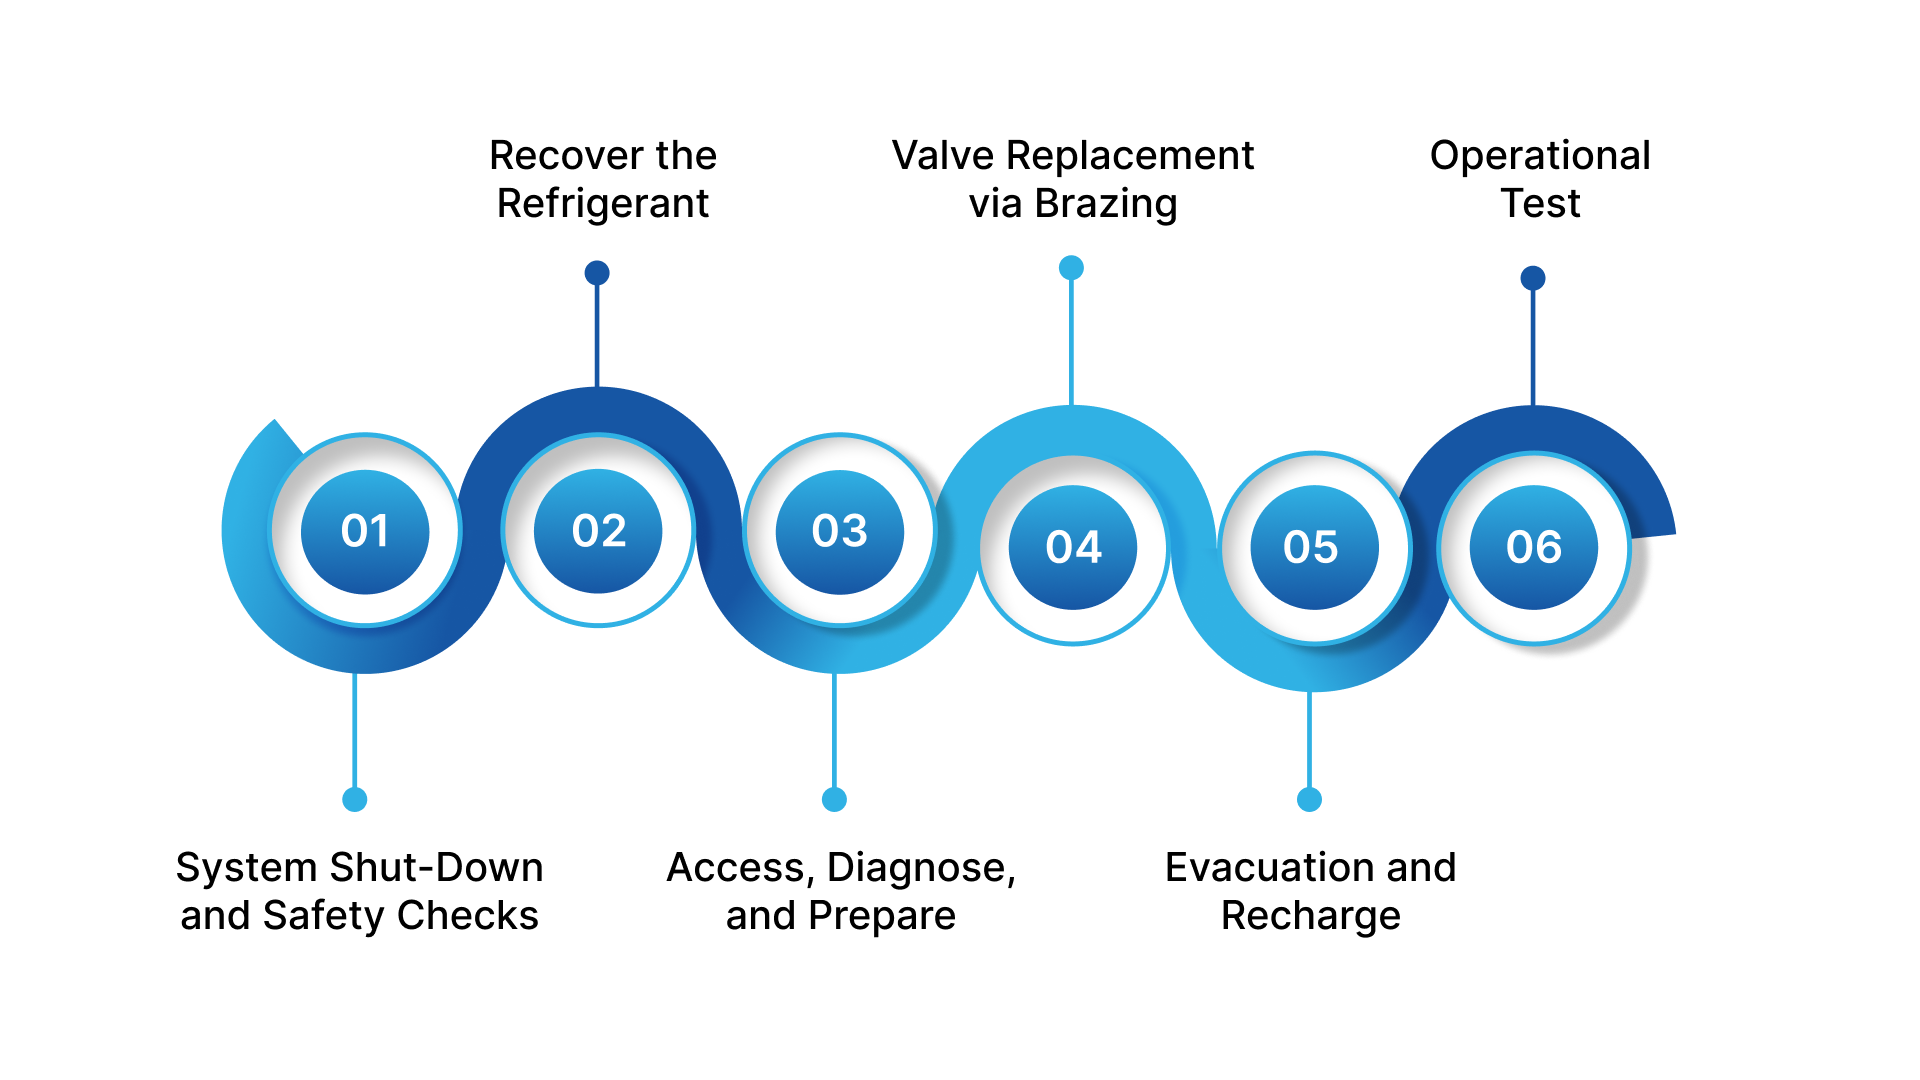
Step 1: System Shut-Down and Safety Checks
The technician's first priority is safety. They will:
Cut Power: Turn off the power to the outdoor unit at both the service disconnect switch and the main circuit breaker inside the building.
Verify De-energization: Use a multimeter to verify that power is zeroed out at the contactor.
Discharge Capacitors: Safely discharge the capacitor to eliminate the risk of shock.
Step 2: Recover the Refrigerant
This step is legally required and demands specialized equipment.
Connect Recovery Unit: The technician connects a certified refrigerant recovery machine to the system's service ports.
Vacuum: The machine pulls all the pressurized refrigerant out of the system and into a recovery tank. The system must be empty of refrigerant before any line can be cut.
Step 3: Access, Diagnose, and Prepare
The technician removes the outdoor unit panel to expose the valve assembly and confirm the diagnosis. They check the electrical connections, test the solenoid coil, and visually inspect for external damage.
Step 4: Valve Replacement via Brazing
This is the most specialized part of the heat pump reversing valve repair.
Cutting the Lines: The technician carefully cuts the four copper lines attached to the old valve.
Brazing the New Valve: Using a high-temperature torch, nitrogen purge, and specialized brazing rods, the technician welds the new valve into the copper lines. A nitrogen purge is essential to prevent oxidation (black sludge/scale) from forming inside the lines, which would destroy the compressor.
Leak Check: Once the new valve is installed, the connections are immediately pressure-tested to ensure the integrity of the new braze joints.
Step 5: Evacuation and Recharge
The final steps restore the system to working order.
System Evacuation (Deep Vacuum): The technician connects a powerful vacuum pump and runs it for an extended period to pull out all air, moisture, and non-condensable gases from the lines. Moisture is lethal to the refrigerant and the compressor's oil. The vacuum must reach a specific, very low micron level (typically below 500 microns).
Recharge: Based on the system's specification (listed on the unit's nameplate), the technician reintroduces the correct amount and type of refrigerant back into the system, often using a digital scale for accuracy.
Step 6: Operational Test
The technician restores power and tests the system in both heating and cooling modes, verifying the solenoid energizes the valve and that refrigerant pressures are correct in both directions.
5 Clear Signs You Need Heat Pump Reversing Valve Repair
Diagnosing a faulty reversing valve can be straightforward, provided you know what to look for. If your heat pump is exhibiting any of these symptoms, call a technician immediately.
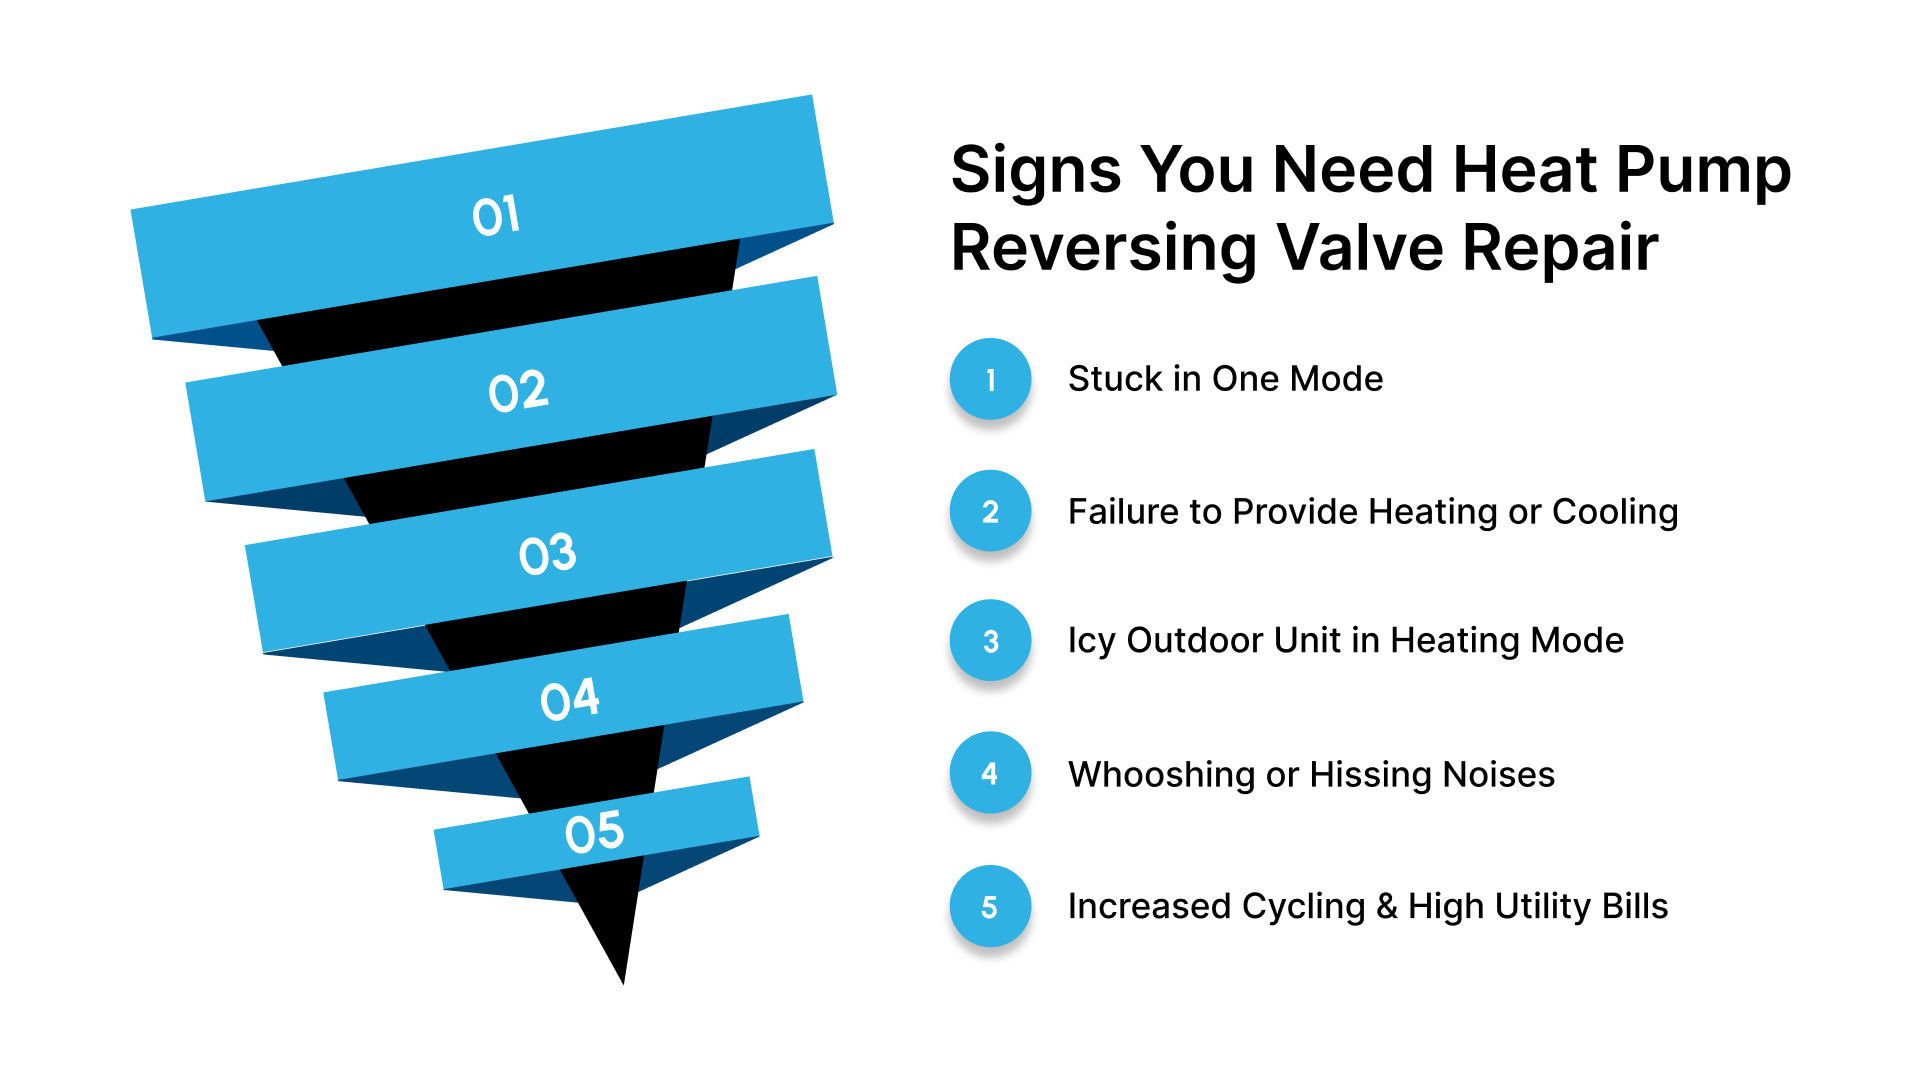
1. Stuck in One Mode (The Most Common Issue)
This is the definitive sign. Your system will either provide cooling when you demand heat or heat when you demand cooling. The valve has failed to shift the flow of refrigerant and is physically locked in its current position. In the Bryan and College Station climate, this failure is often noticed when switching from cooling to heating in the late autumn or early spring.
2. Failure to Provide Heating or Cooling
If the valve gets stuck in a neutral position or fails to fully activate, the heat pump may simply fail to perform its primary function. The outdoor unit may still run, but the air coming from your indoor vents will be the wrong temperature, or merely ambient air.
3. Icy Outdoor Unit in Heating Mode
In moderate temperatures (above freezing), your outdoor unit should not be heavily covered in ice when running in heating mode. If the reversing valve is malfunctioning, it can cause the unit to struggle to pull heat, leading to abnormal ice formation that the defrost cycle cannot handle.
4. Whooshing or Hissing Noises
When the valve shifts, you should hear a brief whoosh sound. However, if you hear a constant hissing, whooshing, or whistling noise coming from the outdoor unit while the system is running, it often indicates an internal refrigerant leak or a leak past the valve’s plunger or seals. This noise means refrigerant pressure is being improperly released.
5. Increased Cycling and High Utility Bills
A partially sticking or failing valve forces the heat pump's compressor to cycle on and off more frequently and run longer to try and compensate for the incorrect refrigerant flow. This excessive operation puts stress on the compressor and quickly translates into abnormally high electricity bills.
The Critical Role of Safety and Professional Expertise
While we are outlining the steps for heat pump reversing valve repair, it is imperative to understand that this is not a safe or feasible DIY repair. Attempting this specific repair without proper certification, equipment, and training is extremely dangerous and illegal in many cases.
The Dangers of DIY Reversing Valve Repair
The primary hazards involved with this specific repair go beyond basic electrical risks:
Refrigerant Exposure: The reversing valve is directly in the path of the refrigerant. Modern heat pumps use refrigerants like R-410A, which is highly pressurized. Improper release of refrigerant can cause frostbite on contact and is a major environmental hazard. Furthermore, federal law requires proper licensing and equipment (a recovery machine) to handle and recover refrigerants before opening the sealed system.
High Voltage: The outdoor unit contains high-voltage electrical components (e.g., the capacitor and compressor) that can cause lethal electric shock if not properly disconnected and safely discharged.
System Integrity: The valve is soldered into the copper refrigerant lines. Replacing it requires specialized knowledge of brazing (not standard soldering) using an oxy-acetylene torch. Improper brazing leads to leaks, contamination in the lines, and guaranteed compressor failure, a repair that costs thousands.
For these reasons, the only safe and legal path to heat pump reversing valve repair is contacting a certified, insured HVAC professional like Central Air & Refrigeration.
CTA Link - https://centralairandrefrigeration.com/heat-pump-systems/
Conclusion
The reversing valve is one of the most mechanically and electrically complex parts of any heat pump. When you face a heat pump reversing valve repair, the need to legally recover refrigerant, handle high-voltage electricity, and perform precision brazing makes this a task strictly reserved for certified professionals. Attempting a DIY repair risks not only severe personal injury and environmental damage but also guarantees the expensive destruction of your heat pump's compressor.
For reliable, safe, and professional service in Bryan and College Station, trust the local experts at Central Air & Refrigeration. We have the training, tools, and commitment to system integrity necessary to get your heat pump switching smoothly between heating and cooling again.
Frequently Asked Questions (FAQs)
Q1. What exactly is a DLT in clinical trials?
The DLT, or Dose-Limiting Toxicity, is a critical safety endpoint in Phase I dose-escalation trials, especially in oncology. It is a severe, unacceptable adverse drug effect (often Grade 3 or 4 using the CTCAE scale) that prevents further dose escalation. Once the dose level results in too many DLTs, the MTD (Maximum Tolerated Dose) is declared.
Q2. How long does a heat pump reversing valve repair typically take?
The replacement of a reversing valve is a complex job that requires depressurizing, recovering refrigerant, brazing the new valve, pulling a deep vacuum, and recharging the system. Including travel and setup, a professional repair typically takes 4 to 6 hours to complete correctly.
Q3. Is it possible for the reversing valve to be fixed without replacement?
In some cases, the problem is not the valve itself but the small solenoid coil that controls the valve's mechanical plunger. If the coil is faulty or has a wiring issue, a technician can sometimes replace only the solenoid coil and reconnect the wiring, which is a simpler and less expensive repair than replacing the entire valve.
Q4. How much does a professional heat pump reversing valve repair cost?
The cost varies widely based on the system type (split-system vs. package unit), the refrigerant used, and the labor involved in accessing the valve. Because it involves complex labor, refrigerant handling, and a high-cost component, a full replacement can cost significantly more than a simple capacitor replacement, often ranging from hundreds to over a thousand dollars, depending on the system.
Q5. What is the whooshing noise I hear when my heat pump starts up?
If the noise is a brief whoosh or click that lasts only a few seconds when the heat pump switches modes (e.g., from defrost or cooling to heating), this is normal. It is the sound of the valve moving the plunger and the high-pressure refrigerant shifting direction in the lines. A continuous hissing, however, indicates a problem.
Q6. Can a malfunctioning reversing valve damage the compressor?
Yes. If the valve fails to properly direct the refrigerant, the compressor may be forced to run against abnormal pressure, leading to overheating or, worse, liquid refrigerant entering the compressor (slugging). Both scenarios can cause severe, immediate damage, necessitating a complete compressor replacement, which is the most expensive heat pump repair.